Wednesday, June 30, 2010

Sneak Peek!!


Stampin Up's 2010-2011 Idea Book and Catalog comes out tomorrow!  I wanted to show you a card I made using one of the new Hostess Sets (Level 1), which can be yours if you host a qualifying workshop, or if you place an order of $150.00.  The set is called Because I Care!!  I love HYDRANGEA's!!!


signature

Tuesday, June 29, 2010

Video Camera is BROKEN :(

I'm so sorry to say, my video camera is broken.  The connector inside my camera some how got damaged.  I can make videos, I just can't upload them to my computer.  I'm not sure what I'm going to do yet.  Hopefully I can either buy a new camera or fix the one we have.  Just not sure who to call?  Any suggestions? 

For now I will have to do tutorials via pictures.  This way you guys can still learn and get some fresh stampin' ideas. 

Thanks for visiting my blog!!

signature

Monday, June 28, 2010

FORMER STAMPIN UP DEMONSTRATOR CAN REJOIN FOR ONLY $35.00

Hello Former Stampin Up Demonstrators,


During the month of July, any former Stampin' Up! demonstrator can rejoin Stampin' Up! for only $35!


To rejoin Stampin' Up!, former demonstrators only need to purchase the Rejoin Starter Kit and sign and complete a new Independent Demonstrator Application and Agreement.

The Rejoin Starter Kit Contains:

•2010-2011 Idea Book & Catalog (8)

•2010 Summer Mini Catalog (8)

•Guest invitation postcards (100)

•Customer order forms (50)

•2010-2011 Definitely Decorative catalog (1)

•Celebrando Creatividad (1)

•Two months free Demonstrator Business Web Services (DBWS) subscription

Former demonstrators will already have the stamping supplies they need, so, in order to keep the price so low, the Rejoin Starter Kit contains the bare essentials to help them get their businesses back up and running.

If you are interested in making some extra money and rejoining and becoming a demonstrator, please contact me in the month of July.  This offer is only good for one month!


signature

Wednesday, June 23, 2010

2 Way Glue Pen (item# 100425 - 3.50)


Have you ever wonder why Stampin' Up's glue is called "2 Way"?  Well it can be used two ways.  It can be used for a Permanent bond and /or a Temporary bond.


When you first get your glue pen the tip will be white.


Push and hold the tip down until it turns blue.  Once you see the blue it is ready to be used.


Ready to be used!  Always replace the cap so it doesn't dry out!


If you want a permanent bond adhere the glue to your object and while the glue is blue, make your bond immediately. 

If you want a temporary bond, (same as a post it note) then you add the glue to your object and wait until the glue turns from blue to clear.  Once it is clear it will be tacky, a removable adhesive. This is great for making a mask or using on your stencils.

Some great features of the 2 Way Glue Pen are:
  • Can be used for permanent bond or a temporary bond
  • Dries quickly
  • Great for adhering glitter
  • Chisel tip
  • Washes off with soap and water.


Tuesday, June 22, 2010

Punch Art - Mr. Fish!!!

I love making punch art, it is so much fun!  Here is a tuturial on how to make Mr. Fish.  I got this idea from http://www.yoyostamping.com/


Punch out the following pieces:  You may pick any color of your choice. Sponge edges of all pieces with a darker color. Add a little blue to the eye.
 

One (1) Ornament punch - fish body
One (1) Modern label punch - fish fins
One (1) Scalloped oval - fish fin
One (1) 3/4" circle  - eye
One (1) 1`/4" circle  - center of eye


2. After all edges of pieces are sponged with color add adhesive to the front of the modern label punch out.  Leaving both edges free of tape. Adhere the punch out to the back of the fish's body so you only see the top and bottom of the punch.


3.  Glue black circle to white circle to create the eye.  Adhere the eye hanging off the fish's head.


4. Cut scallop oval so you only have 5 scallops showing. Discard the larger piece or save it for another fish.


5.  Adhere small fin to the fish. Add ant white highlight markings.


Here is a quick card I made using my fishes and one cute stamp set (You and Moi) from Stampin Up.


Have fun making your fish!!!

signature

Pocket Matchbook Candy Holder Tutorial

Step By Step Picture Tutorial on How to make a Pocket Matchbook Candy Holder

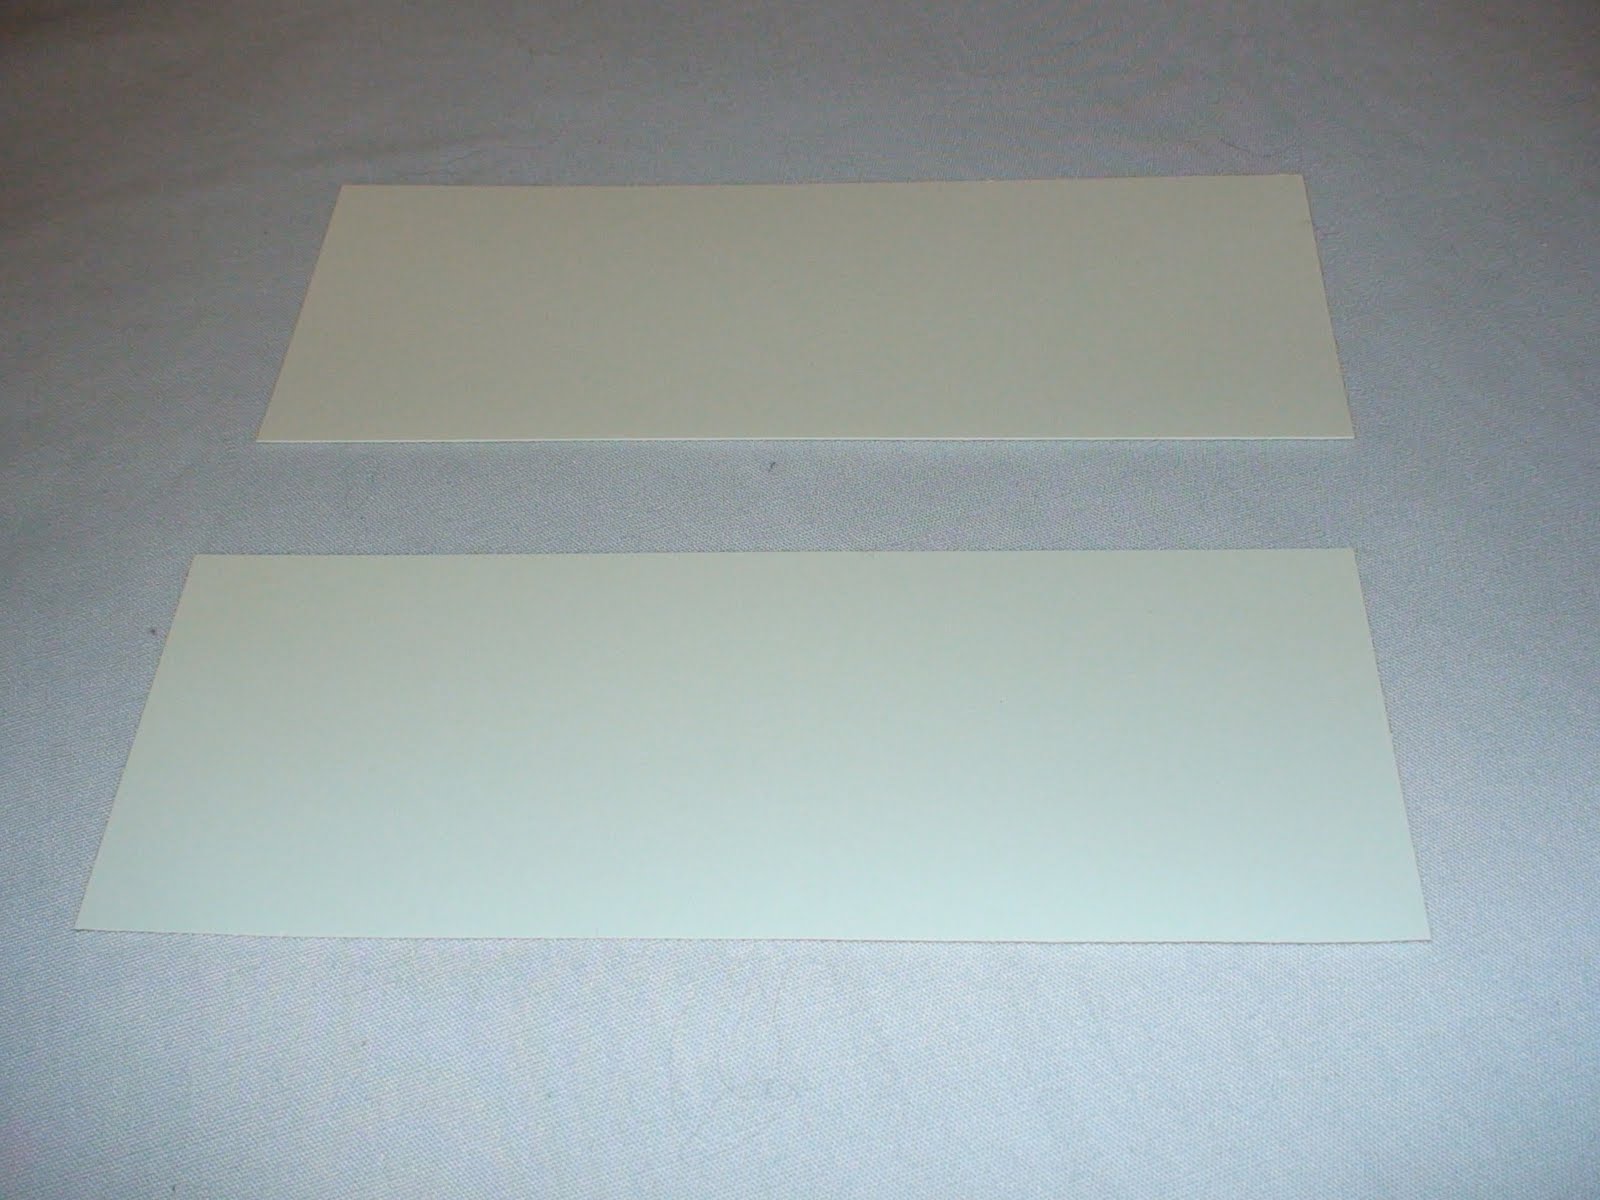
1.  Cut two pieces of cardstock (color of your choice - I used Very Vanilla - SU) at 5 3/4" x 2 3/8"  and another at 7 3/8" x 2 3/4".


2.  Score the following pieces at the following measurements:

5 3/4" piece of cardstock needs to be scored at 2 1/4", 2 1/2", 2 3/4", 5", 5 1/4'', and 5 1/2".
7 3/8" piece of cardstock needs to be scored at 3", 3 1/2", and 6 3/4"


3.  With the 5 3/4" piece of cardstock fold the cardstock to make a mountain and then a valley fold and then adhere, as shown here. 


4. With the 7 3/8" piece of cardstock, fold the score lines, and add a piece of red line tape (I used scor tape in this example) to the 1/2" flap.  Make sure when applying the tape you place it close to the score line and not at the other edge or else your top flap won't be able to tuck inside.


5.  Place the pocket insert as shown and adhere the flap to the insert.

6.  After adhereing the insert open the matchbook pierce holes for the brads, and add brads to the front flap. 


7.  Decorate the inside flap as desired.  Black cardstock is cut at 2" x 1 3/4".  The other pieces of cardstock are cut 1/8" smaller.  Adhere to inside pocket .

8.  Decorate the front flap.  Black cardstock is cut at 2 1/2'' x 2 1/2'' .  The other layers are 1/8'' smaller. Adhere to the front flap.


Add 1 Ghiradelli chocolate inside the pocket insert.  You can make these for anyone and any occasion!  Have fun!


Pocket Matchbook Candy Holder

Hello Stampers,

I saw a really cute and easy matchbook candy holder on splitcoast and thought I would make my own.  The following posting is a picture tuturial on how to make the following candy holder.   Have fun making yours!


signature

Thursday, June 17, 2010

Catalogs are Ordered!!!

I placed my catalog order for the new 2010-2011 Idea Book and Catalogs!  I can't wait until July 1, which is just really around the corner!  New stamps, new designer paper, new accessories, sweet!  If your name was on my Catalog Waiting List you will have your catalog July 1.  Yeapeeee!!!


signature

Tuesday, June 1, 2010

Last Chance Sale!!!!

Well its that time of the year....LAST CHANCE!!!!

Stampin Up is retiring a lot of great stamp sets.  I like to invite you all to review the retiring lists on the right side margin by printing it out, and highlighting your 2009-2010 Idea Book and Catalog. You will have from June 1-30 to place your order, but it is WHILE SUPPLIES LAST.  So if there is a stamp set, accessory, ink pad, decor element, or cardstock color that you HAVE to have you should order it as soon as possible. 

ROXY'S DISCOUNTS (only ordered through me)

  • ALL LAST CHANCE STAMP SETS - 20% off
  • ALL LAST CHANCE DECOR ELEMENTS - 25% off

  • Any order over $50.00 (not including tax/shipping) that doesn't include stamp sets, you can choose ONE retiring stamp set of your choice valued at 10.00 or less.

  • Any order over $100.00 (not including tax/shipping) that doesn't include stamp sets, you can choose ONE retiring stamp set of your choice valued at $20.00 or below.

Please email me (or call) any Stampin Up order you would like to place, and I will be happy to order that for you.  Remember I accept, Visa, MasterCard, American Express, Checks, and Cash. 

The 2010-2011 Catalog comes out July 1, and I saw a few of their new stamp sets and will be ordering some to show you all.  So if you would like to book your July workshop as well, please let me know that when you place your order and we will get you scheduled!  As a bonus if you book and hold your Stampin Up Workshop you will receive a free 2010-2011 Idea Book and Catalog.

Email: hookedonstampin2003@yahoo.com


Blessings,
signature